In a multicenter audit of more than 40,000 indirect restorations, the leading reasons for laboratory remakes were all about fit: margin-fit discrepancy, proximal-fit issues, and improper fit together accounted for roughly three out of every four remakes. Every one of those remakes means lost chairside time, added lab cost, and a patient sitting in the chair longer than anyone wanted. So when a lab promises a “zero-adjustment fit,” it is making a claim about the single most common and most expensive thing that goes wrong in fixed prosthetics.
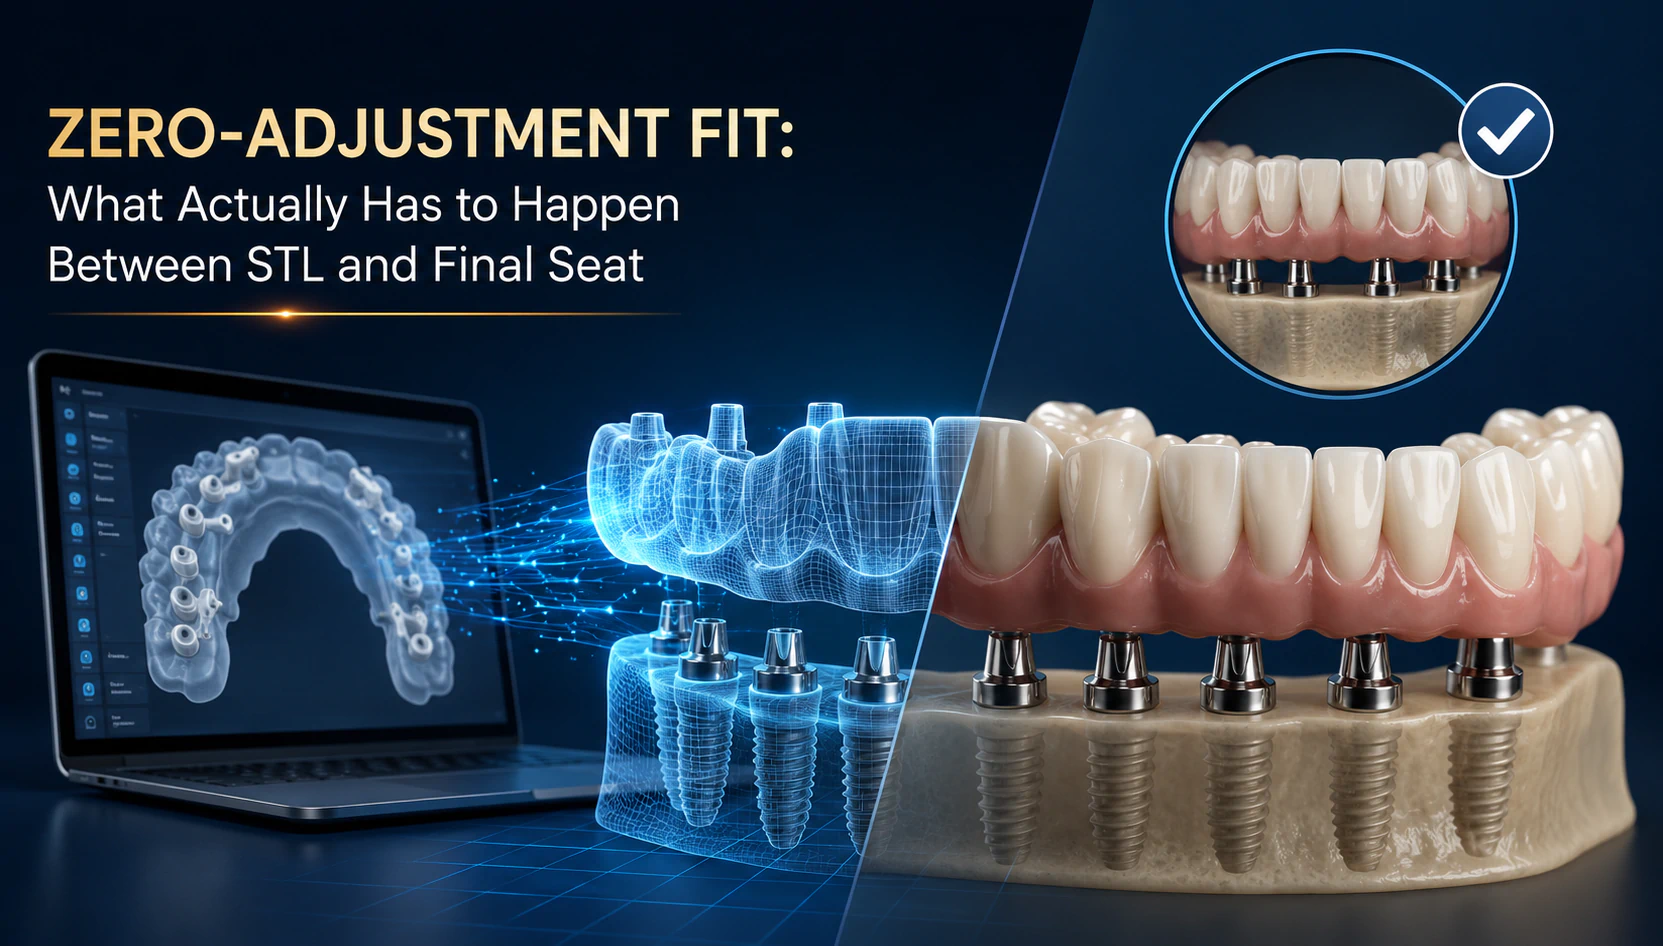
The phrase is easy to print on a homepage. Delivering it is another matter. A true zero-adjustment seat is not a marketing slogan and it is not luck. It is the end result of a tightly controlled digital dental lab workflow, where every step between the STL file you send and the prosthesis you seat has been verified rather than assumed. This article walks through what actually has to happen at each of those steps, and what a dentist should look for when choosing a lab partner who can deliver that result case after case.
Why “Passive Fit” Is the Whole Game
Before talking about workflow, it helps to be precise about the target. In full-arch, implant-supported work, the goal is passive fit: a stress-free connection between the prosthesis and the implants when the screws are fully torqued. Unlike natural teeth, implants have almost no physiological give, so any discrepancy gets transferred straight into the system as strain rather than absorbed.
That strain is not cosmetic. A prosthesis that does not seat passively can drive mechanical complications such as screw loosening and framework fracture, and biological complications including peri-implant bone loss over time. In other words, a misfit you cannot see with the naked eye can quietly compromise the case months or years after delivery.
How tight does the fit need to be? The literature has never settled on a single universal number. Brånemark proposed that a passive fit at the level of around 10 microns was ideal, while Jemt considered a gap of 150 microns or less to be clinically acceptable. What everyone agrees on is that fit is measurable, not a matter of feel. It is usually described through two components defined in ISO 5725-1: trueness, meaning how close a measurement is to the actual value, and precision, meaning how consistent repeated measurements are. Keep those two ideas in mind, because every checkpoint below is really an effort to protect trueness and precision somewhere along the chain.
From STL to Final Seat: The Checkpoints That Make or Break the Fit
From the dentist’s side, the workflow looks simple: send an STL, receive a restoration that drops into place. Between those two moments sit a series of checkpoints where the fit is quietly won or lost. Miss any one of them and the prosthesis that looked perfect on screen needs grinding at the chair. Here is where it actually gets decided.
Checkpoint 1 — Scan Quality Verification
Everything downstream inherits the quality of the incoming scan, so this is where a good lab starts. Intraoral scanners are excellent over short spans, a single implant or a two-to-three-unit bridge, where there are plenty of anatomical landmarks and stitching error stays negligible. Across a full edentulous arch it is a different story: accuracy drops because the scanner has to stitch together many images with few fixed reference points, and small errors accumulate end to end.
This is why a serious lab verifies the quality of every incoming scan before it mills anything, and flags problems back to the clinic rather than working around them. It is also where the partnership starts. Lab technicians will tell you that the decisive factor often is not the price of the hardware but whether the clinician scanned well in the first place. The best scanner in the world cannot rescue a poorly captured arch, and a great lab will say so early instead of discovering it at delivery.
Checkpoint 2 — Photogrammetry vs. Conventional Verification Jigs
For full-arch implant cases, this is the heart of the matter. The classic tool for confirming implant positions is the verification jig: a structure that links the implants and locks in their three-dimensional relationship to one another so it can be transferred accurately to the model. It works, but it adds steps and chair time.
The modern alternative is photogrammetry. By imaging specialized markers on the multi-unit abutments from multiple angles, a photogrammetry system captures the exact spatial relationship between all the implants in seconds, and it is largely unaffected by saliva, bleeding, or patient movement. For multi-implant cases it offers the highest level of positional precision available. A 2025 systematic review and meta-analysis found that stereophotogrammetry delivered significantly greater trueness and precision than intraoral scanning for complete-arch implant impressions, and that intraoral scanning’s angular deviation exceeded the roughly one-degree threshold associated with passive fit. The trend across the industry reflects this: traditional analog jigs are increasingly giving way to milled jigs and to photogrammetry.
It is worth being honest about the limits, because that honesty is part of doing this well. The same body of research still recommends a rigid prototype try-in for complex cases until longer-term clinical evidence catches up. Photogrammetry is a powerful tool for full-arch and All-on-X work, not a guarantee that lets anyone skip judgment. You can see how this fits into a complete restorative approach in our clinical solutions.
Checkpoint 3 — Fiducial Alignment & Data Merging
Here is a detail that surprises a lot of clinicians: photogrammetry only captures implant position. It does not record soft tissue, occlusion, or tooth form. Those have to come from a separate intraoral scan, a facial scan, and CBCT data. The real work of the lab is merging all of these sources into a single, coherent three-dimensional model, aligning them precisely against shared reference points.
This alignment step is invisible on the final invoice but decisive for the fit. Even flawless implant-position data will produce a flawed prosthesis if the soft-tissue and occlusal records are stitched onto it slightly off-axis. Merging data well is not a button press; it is skilled work, and it is exactly the kind of detail that the IndieDent Protocol is built around: going through every element of the collected data for each case rather than simply processing files.
Checkpoint 4 — Occlusal Scheme Decisions
Occlusion is where zero-adjustment is most often lost, because adjusting the bite is precisely what eats up chair time at delivery. If the occlusal scheme is not captured accurately and designed deliberately, the prosthesis will need grinding no matter how well the implants were positioned.
Full-arch work has well-established requirements here. The provisional needs to be rigid and non-flexible to prevent micromovements during healing. The occlusion should be balanced and free of interferences, with very gentle dynamic movements. And the definitive prosthesis has to be biomechanically tailored to the actual implant positions and to the individual patient’s anatomy, not dropped in from a generic template. This is the part of the work that rewards experience and case-by-case judgment over automation, and it is central to how each case is planned in the Protocol.
Checkpoint 5 — Milling Tolerances & Material Control
Now the digital design has to become a physical object, and the manufacturing tolerances matter as much as anything upstream. Dental restorations generally call for a marginal tolerance in the range of plus or minus 25 to 50 microns; gaps beyond roughly 100 to 120 microns raise the risk of secondary caries, periodontal problems, and outright restoration failure. Milled zirconia tends to deliver greater accuracy and consistency than 3D-printed zirconia, which is more variable because of porosity.
Material choice belongs here too, and the principle is simple: the material should follow the clinical case, never the other way around. Monolithic PMMA, zirconia, titanium bars, and advanced reinforced polymers each have their place depending on biomechanics, esthetics, and the function the case demands. A lab that leads with guidance on material selection, rather than defaulting to whatever is easiest to produce, is doing the dentist a real service. You can see the range of materials and indications on our full-arch solutions page.
The Error Stack: Why Zero-Adjustment Is a Chain, Not a Step
Step back and look at the whole path, and a pattern emerges. Error does not appear at one dramatic moment; it accumulates. Pour or scan the model with a small inaccuracy, add the working tolerance of the CAD software, add the tolerance of the STL export, then the CAM calculation, the milling machine, spindle runout, tool accuracy, the zirconia shrinkage factor, and finally the sintering furnace. Each link contributes a few microns. Stacked together, they decide whether the prosthesis seats or fights you.
This is why “garbage in, garbage out” is not a cliché in this field but a literal description of how the math works. A perfect milling machine fed a flawed CAD file produces a flawed restoration, precisely as instructed. And it is why zero-adjustment fit can never be credited to a single piece of equipment or a single clever step. It is the product of controlling the entire chain, from the first scan to the final seat. A lab that obsesses over only one link, however impressive that link is, will still hand you cases that need adjustment.
Checkpoint 6 — Prototype / Try-In: When to Trust the Data
This is the chain’s final safeguard, which is why it belongs at the end of the discussion rather than the middle. When the incoming data is excellent, many labs now deliver full-arch cases in a single appointment with no adjustments: in one documented maxillary case, photogrammetry captured implant relationships at sub-10-micron accuracy, the single-screw (Sheffield) test confirmed passive fit, radiographs verified full seating on every abutment, and no adjustments were required.
That is the goal, and it is achievable. But the decision to skip a physical try-in has to be earned by the quality of the data, not assumed for convenience. For complex cases, esthetically demanding situations, or anything where the records leave room for doubt, a prototype try-in remains the responsible call. A lab partner who knows when to insist on a try-in is protecting your result, not padding the workflow.
It’s a Team Sport: What a Real Lab Partner Brings to the Table
Notice what runs through every checkpoint above: none of them is the lab’s job alone. Zero-adjustment fit is a shared result. The clinician supplies clean, well-captured data and sound clinical decisions; the lab controls the chain that turns that data into a passive-fitting prosthesis. When either side treats the other as a black box, fit suffers.
A real digital lab partner, then, does more than process STL files. It verifies incoming scans and proactively flags issues before production. It communicates instead of guessing. It offers genuine guidance on material choice and design rather than defaulting. It delivers a stable, predictable, repeatable workflow that holds up case after case. And it starts with collaborative case planning up front, because the variables in a full-arch case, anatomy, medical history, esthetics, function, are too many to sort out at delivery.
That is the difference between a vendor and a partner, and it is the posture IndieDent is built on: treating every case as a set of unique clinical variables to be navigated together, not a file to be run through a machine. For high-volume implant centers, that relationship can be formalized through membership, but the principle is the same at any scale.
What to Look for in a Digital Lab Partner
If you are evaluating a digital lab, these are the questions worth asking:
- Does the lab verify the quality of incoming scans and tell you when a rescan is needed, rather than silently working around problems?
- Does it use photogrammetry or milled verification for full-arch and multi-implant cases, and can it explain when each is appropriate?
- Is its material and tolerance control transparent, with guidance driven by your clinical case rather than the lab’s convenience?
- Does it recommend a prototype try-in when the case calls for one, instead of skipping it by default?
- Does it communicate and plan cases with you up front, like a partner rather than a processor?
A lab that answers these well is one that can actually deliver on the zero-adjustment promise, not just print it.
Frequently Asked Questions
What does “zero-adjustment fit” actually mean? It means a prosthesis that seats passively, without strain on the implants, and needs no meaningful grinding or trimming at the chair to fit and function correctly. It is the outcome of a controlled digital workflow in which every step from scan to milling has been verified, not a property of any single tool.
Is photogrammetry always necessary for full-arch cases? Not always, but it offers a significant accuracy advantage as implant numbers rise, particularly in cases with four or more implants. For single implants and short-span bridges, a good intraoral scan is typically sufficient, since stitching error is negligible over short distances. The right choice depends on the case, not on a blanket rule.
Can a digital workflow skip the physical try-in? Sometimes. When the captured data is excellent, many full-arch cases are delivered in a single appointment with no adjustments. For complex or esthetically demanding cases, however, a rigid prototype try-in is still the responsible choice, and a good lab will tell you which situation you are in.
What causes a full-arch prosthesis to not seat passively? Usually one or more of: a poor-quality incoming scan, inaccurate implant-position capture, misaligned merging of the implant, soft-tissue and occlusal data, occlusal scheme errors, or accumulated tolerance errors through the design and milling chain. Because error stacks, a single weak link anywhere along the path can produce a misfit.
How do I know if my scans are good enough for the lab? A capable lab checks this for you and gives feedback before fabrication, flagging when a rescan would save a remake later. If your lab never comments on scan quality, that is itself worth questioning, because verification at the front of the workflow is one of the clearest markers of a partner that controls the whole chain.
Ready to Put It to the Test?
Zero-adjustment fit comes from controlling everything between the STL file and the final seat, and from a lab that treats your case as a shared result rather than a job to process. From STL to final seat, perfectly executed.
Submit a case and see the difference for yourself, or contact the studio to talk through a complex full-arch case before you send it.
